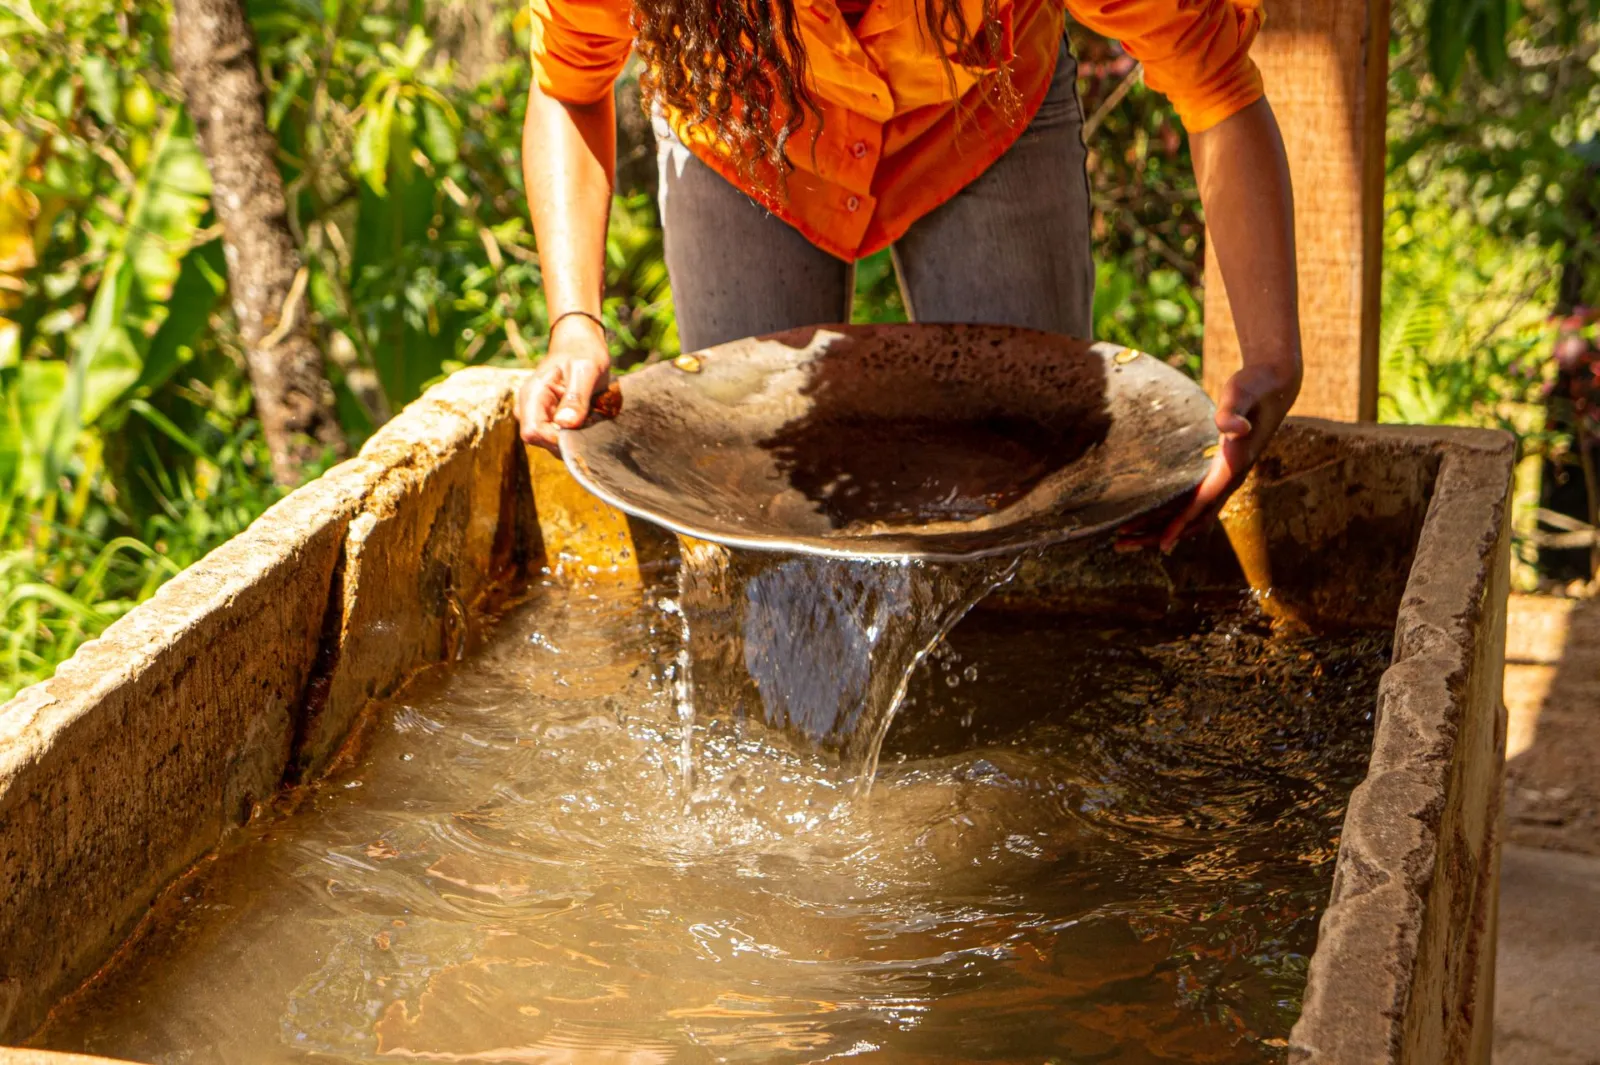
The gold pan is the prospector’s basic tool: a shallow dish in which stream gravel is washed until only the heaviest material, gold included, remains. It is also the one tool allowed almost everywhere recreational prospecting is permitted. Here is how to choose one and how to use it.
In brief
- The principle is simple: gold, about seven times denser than sand, stays at the bottom when you swirl the water.
- For beginners, a plastic pan of 12 to 14 inches, black or green, with riffles is the easiest choice.
- The technique takes a few hours to learn, and patience to avoid losing fine gold.
Types of gold pans
| Type | Shape | Strengths | Best for |
|---|---|---|---|
| Riffled pan | Flat bottom, sloped sides, riffles on one side | Riffles trap gold, forgiving technique | Beginners |
| Conical pan (Asian style) | Shallow cone | Concentrates gold in one point | Regular panners |
| Finishing pan | Small, 8 to 10 inches | Precision when separating flakes | Final cleanup |
| Steel pan | Classic round pan | Durable, traditional | Old-school prospectors |
Plastic pans have largely replaced steel: they are light, rust-proof, and their dark color makes gold stand out. Green and black are the favorites.
How to pan for gold, step by step
- Classify: run the gravel through a classifier set on the pan to remove rocks, keeping only the finer material.
- Submerge: sink the pan in calm water and break up clay lumps by hand.
- Shake: shake the pan vigorously side to side, level and underwater. Gold works its way down.
- Tilt and wash: tip the pan slightly forward, riffles down, and let the water carry off the top layer of sand with small circular motions.
- Repeat: alternate shaking and washing until only a little black sand (heavy minerals) remains.
- Finish: with a little water, swirl gently. Gold appears as a tail behind the black sand. Suck it up with a snuffer bottle and store it in a vial.
Common mistakes
- Going too fast: washing too hard throws out fine gold with the sand.
- Overfilling the pan: half full is plenty.
- Skipping classification: rocks stop gold from settling.
- Mistaking mica or pyrite for gold: see fool’s gold vs. real gold.
Where to pan
The best spots are where the current slows: inside bends, downstream of large boulders and in bedrock cracks. Before going, check local rules and land access, as explained in our gold prospecting guide, and our regional pages for the United States, Canada and the United Kingdom.
The pan is the heart of a fuller kit (classifier, snuffer bottle, vials, boots) described in our gold panning kit guide. To process more gravel on a good spot, a sluice box is the natural next step.
Caring for your pan
A new plastic pan often has a slightly greasy surface: scrub it with fine sand or dish soap before first use, or fine gold may float. Rinse it after each outing and store it out of direct sun, which eventually makes plastic brittle.
Frequently asked questions
What size gold pan is best for beginners?
A 12- to 14-inch pan is the best compromise: large enough to process a decent volume, light enough not to tire your arms.
Can you find nuggets by panning?
Occasionally, but most pans yield flakes. See gold flakes vs. nuggets.
Sources
- U.S. Bureau of Land Management, recreational gold panning guidance.
- U.S. Geological Survey, placer gold deposits.